How do I install it and where?
The Network Extender is easy to install, almost “out of the box and connect”. Just plugs into the electric light and press the WPS button on the router And that’s it: the device will be able to get the WiFi signal to where it was failing you previously.
However, it is not just about buying the network extender. You have to know where to locate it, for which you will have to read the manual for your new device, or ask for telephone advice, which is essential if you really want to solve this problem with your home network once and for all.
Regarding the location, the general recommendation is place the extender right where wireless coverage is still robust -for the repeater to take the signal well-, but it should not be very close to the router, otherwise, you will not get any improvement in the signal, the range will be limited. Try different locations on your repeater to get the desired connection.
Avoid obvious interference or obstacles, such as concrete walls, metal objects and microwaves, among other factors. Doors, in theory, shouldn’t be a problem, unless you have a bench-style metal door.
Another aspect that needs to be highlighted is that, once the repeater or network extender is installed, The devices must be enabled so that they also feed on that wireless signal, because it is not something that happens automatically. Otherwise, your WiFi device will remain connected to the modem or router until the extender is manually switched to the extender, even if the extender is located closer to the device than the router itself.
Many network extenders come with software to solve doubts about the best place to install your repeater signal. For example, Linksys network extenders provide the technology with which you will find the perfect computer installation location. This tool, Spot Finder, provides a single visual representation of how far or close the extender is to the router or modem.
Network extenders are usually a great solution to Wi-Fi coverage problems, as long as they conform well to the technical specifications of the router. It goes without saying that although the signal repeater works well and has many functionalities, it will not improve the capacity of the router.
How to Use and Configure a Router as a Repeater to Improve your WiFi
You can set up your old router as a WiFi repeater to boost and improve the reception of your new model, making the signal reach every corner of your home. The configuration is very simple and you can make them both work together.
The detail lies in what to do with our old but functional router? There is no need to throw it away or pack it away forever. On the contrary, it can be very useful to enhance your new router.
Besides, this way you won’t need to install network cables that go all around your house and rooms, since the process is totally wireless, as one will maximize the coverage of the other.
To top it off, this is the solution that will provide the highest browsing speed, as the router, acting as a repeater, will give much more power than a traditional repeater to the second router.
How to set up your router as a repeater to extend your wifi
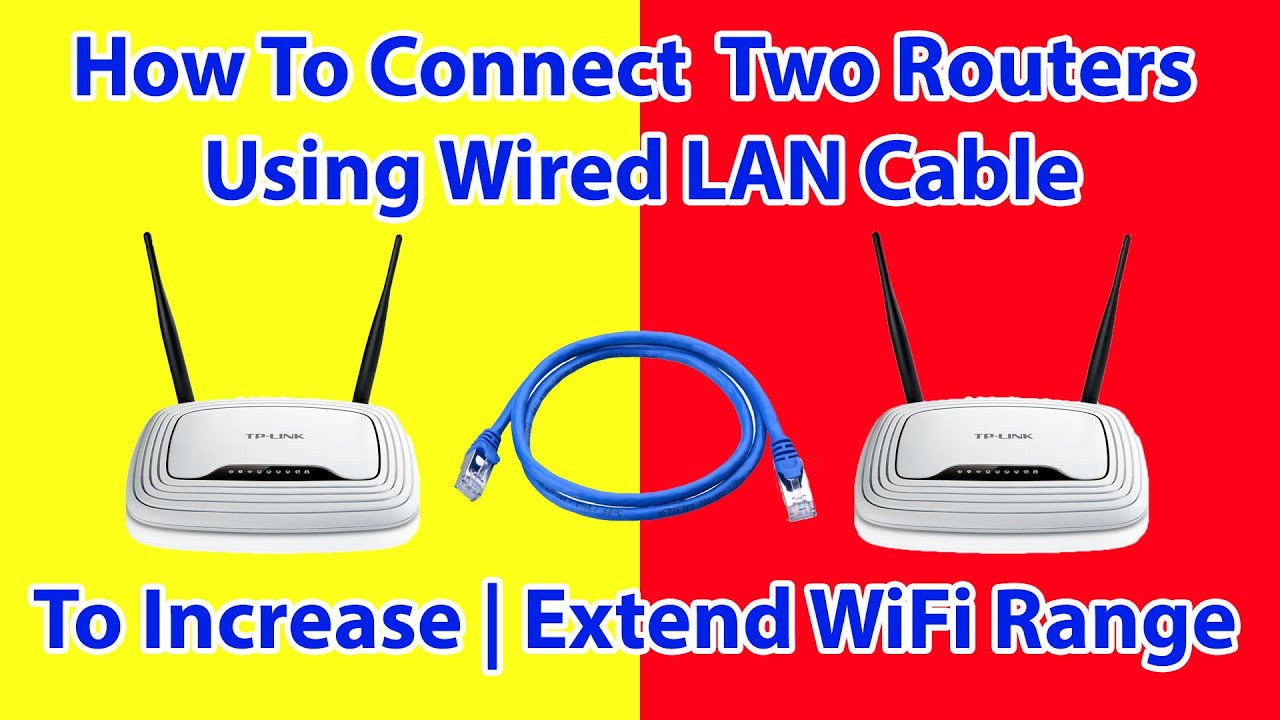
To configure your router as a repeater we will have to access the settings of our router. It should be noted that you do not have to physically connect both routers as the process is completely wireless.
It should be noted that the explanation we will give will be with a Tp-Link router because they tend to be the most common in most homes. However, the configuration is usually very similar in most of the equipments. The first thing we will do is access the configuration center of our old router with the IP address that by default is 192.168.0.1 and the first step will be to establish a fixed IP address different from the one of the main router.

Although they must be different IP addresses, they must be in the same range, for example 192.168.0.2. To achieve this we will have to go to the Network-Lan option and after modifying the IP, we will access with the new URL.
After this we will be able to configure the main ADSL/Fiber and the router that will act as a repeater. We will have to go to the Wireless option and select Wireless Settings. In this section there will be several sections that we will have to configure as follows:
- SSID: We will have to put the exact name of the new router.
- Channel: 11 (This must be different from the new router to avoid connection conflicts).
- Finally, the “Enable WDS” option must be enabled.
After doing this, we will have the first part of the configuration ready, but first we will have to click on the Search or Survey button, as the case may be. In this way, the equipment will search for nearby networks, and your new router should appear among them.
You will have to connect it so that both are synchronized and that’s it. You will see how the SSID and MAC Adress fields are automatically filled in, but the security fields must be filled in manually. These must be exactly the same as the values of your new router. Finally, go to the Wireless section and select the Wireless Security option, where you will have to configure the security of the repeater router.
It is recommended that the password be exactly the same as that of the new router so that they connect to each other automatically without using two passwords. The only thing left to do is to disable DHCP by going to DHCP Settings and disabling it.