OnePlus is one of the few mobile manufacturers that encourages rooted terminals. In fact, the OnePlus 6T is one of the best smartphones to test a custom ROM. It is very easy to unlock a OnePlus mobile, and in doing so, we can use Xposed or install a ROM by means of mobile flashing.
Steps to root a OnePlus mobile
The first thing you should do is unlock the bootloader and install a custom recovery such as TWRP. You will also need a Mac or PC to send commands to your mobile and some tools, which we will leave in the following links:
- TWRP 3.2.3 custom recovery
- TWRP 3.2.3 custom recovery
- Minimum ADB and Fastboot (for Windows users)
- Magisk v17.3
Note that You must have your mobile driver installed on your Mac or PC otherwise your computer will not recognize it and nothing we explain here will work.
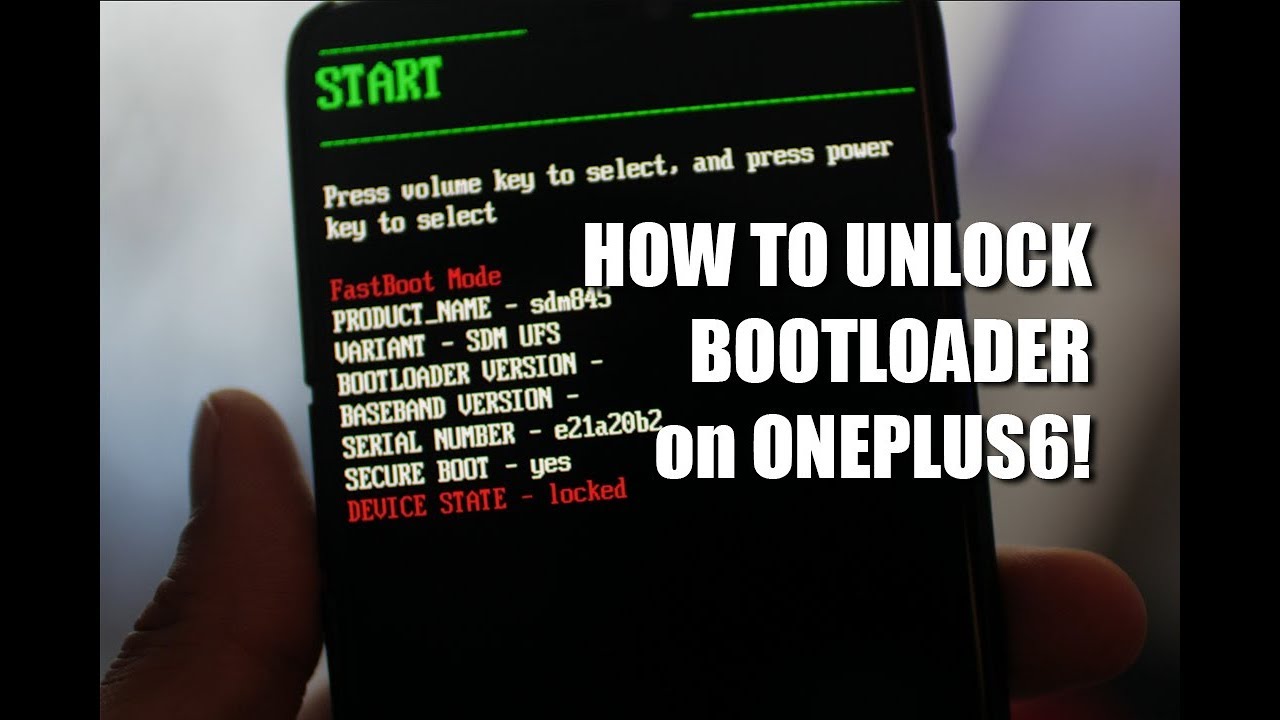
How to unlock the bootloader or bootloader on a OnePlus mobile

Before starting, it is advisable to make a backup of all mobile data. Unlocking the bootloader allows you to install custom ROMs very easily.
- Enter to Configuration.
- Scroll to the bottom of the page.
- Enter the section About of the phone.
- Touch the build number 7 times.
- Return and touch the submenu System.
- Tap on Developer options
- Activate OEM unlock and enter the device PIN.
- Press Activate.
- Scroll down and Turn on USB debugging.
Now the bootloader is ready to be unlocked. Connect your OnePlus phone to your PC and extract the minimum ADB and Fastboot that we leave you to download previously. Open a command window in that folder by holding down the Shift key on the keyboard, right-click and select Open PowerShell window. Once you start PowerShell, enter the following command:
- adb reboot bootloader
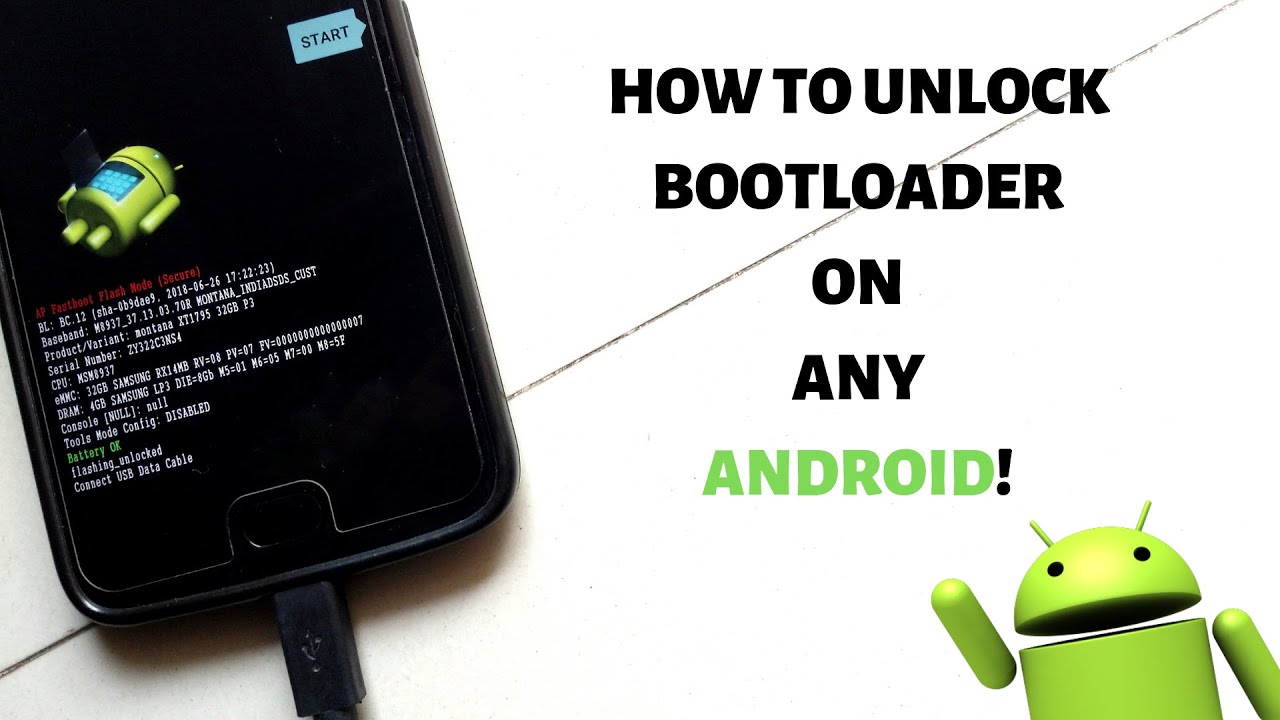
The device will start in the fastboot menu and you will be able to see the status of the bootloader, regardless of whether the mobile is locked or unlocked. Enter the following command to unlock bootloader:
- fastboot oem unlock

Once you place the command, you will see a confirmation message on your OnePlus. Use the volume keys to scroll and select Unlock the bootloader. Then press the power button to confirm your choice. You will see a brief message that says the bootloader has been unlocked and that the device will restart.
After restarting, go back to settings and enable the developer options as explained and activate USB debugging.
How to root your OnePlus mobile

Once you have unlocked the bootloader and set up your mobile, it is time to install a custom recovery. TWRP allows you to root your OnePlus through the Magisk module, and facilitates the task of flashing custom ROMs. Take the TWRP.img file you downloaded earlier and move it to the ADB and Fastboot folder.
Connect your mobile to the PC and move the TWRP .zip and Magisk files to the internal storage of your OnePlus, using the Windows file explorer.
Perform the steps described in the bootloader unlock again to start a command window from the ADB and Fastboot folder. Once you have PowerShell running, enter the following command to start fastboot mode:
- adb reboot bootloader
In the fastboot menu, enter the following command to install TWRP:
- fastboot boot twrp-3.2.3-1-fajita.img
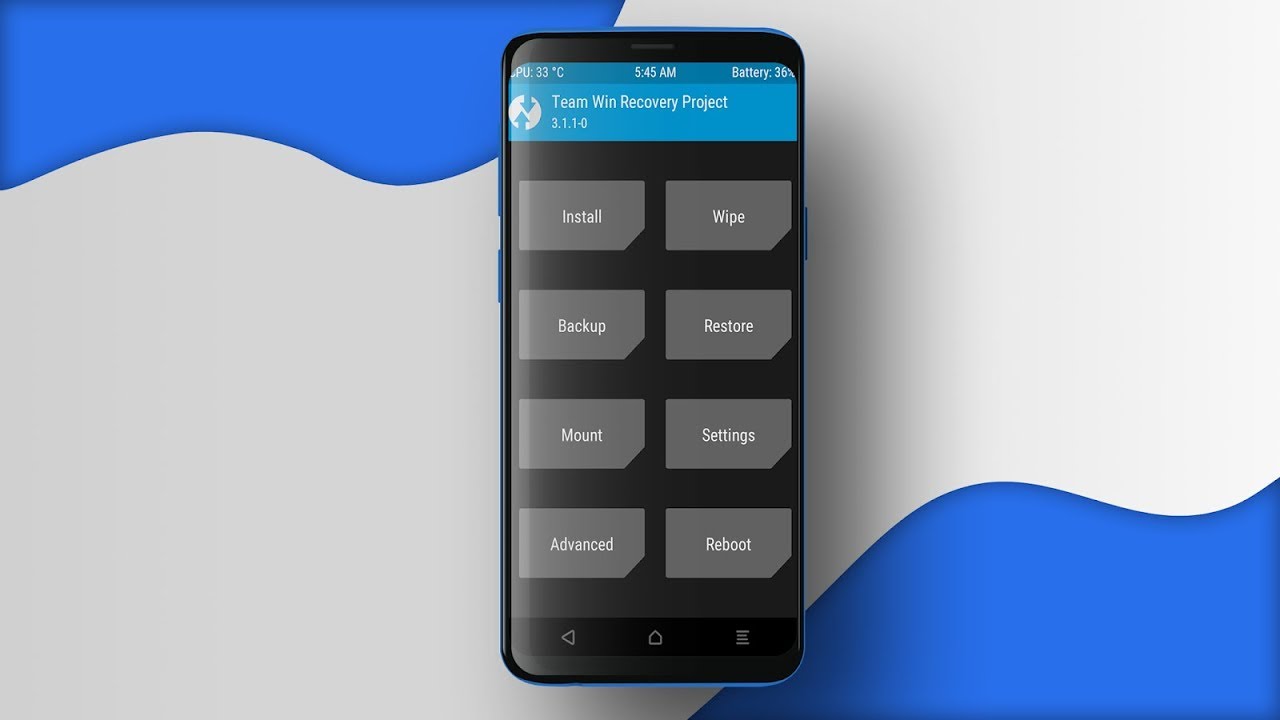
Now, on your mobile you will see the logo of Team win, enter your password and move your finger on the Swipe option to allow modifications at the bottom of the page to get started. Press the Install button to continue and select the TWRP 3.2.3.zip file that is in the internal storage of your OnePlus and confirm. Once TWRP is installed, your mobile will restart.
For root your OnePlus with Magisk, turn off the terminal and start TWRP by pressing and holding the volume and power buttons simultaneously. In the TWRP menu, select Install and navigate to the Magisk .zip file and click on install image. Once you have finished the installation, select Restart to return to the home screen.

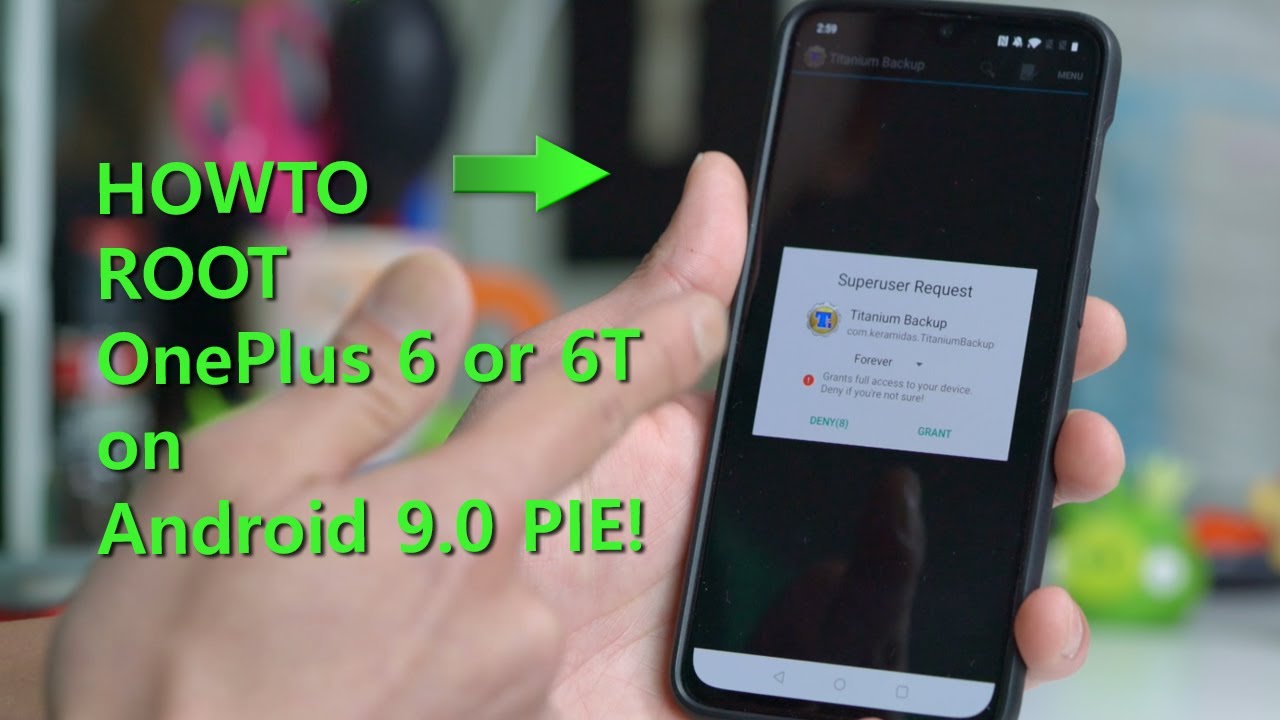
Your OnePlus device must now be rooted, and you will see an application called Magisk Manager which will allow you to install additional modules. Rooting your mobile usually obstructs the functionality of Google Pay, but Magisk offers an ingenious solution:
- Open Magisk Manager from the app drawer.
- Touch the three horizontal lines in the top left-hand corner.
- Choose Magisk Hide.
- Scroll down and check the checkbox of Google Pay.
In this way Magisk Hide will hide the fact that your mobile is rooted, which makes it possible to run services like Google Pay.
Do you have a problem performing the procedure? Leave us your doubts in the comments.